How to use filters in Screener?
There are several actions available with filters:
- Select and apply a filter from a selection of popular filters in the top panel of the screener;
- Add a filter via the filter dialog to the quick access panel;
- Edit filter;
- Reset the active filter and leave it on the top panel;
- Remove filter from quick access panel.
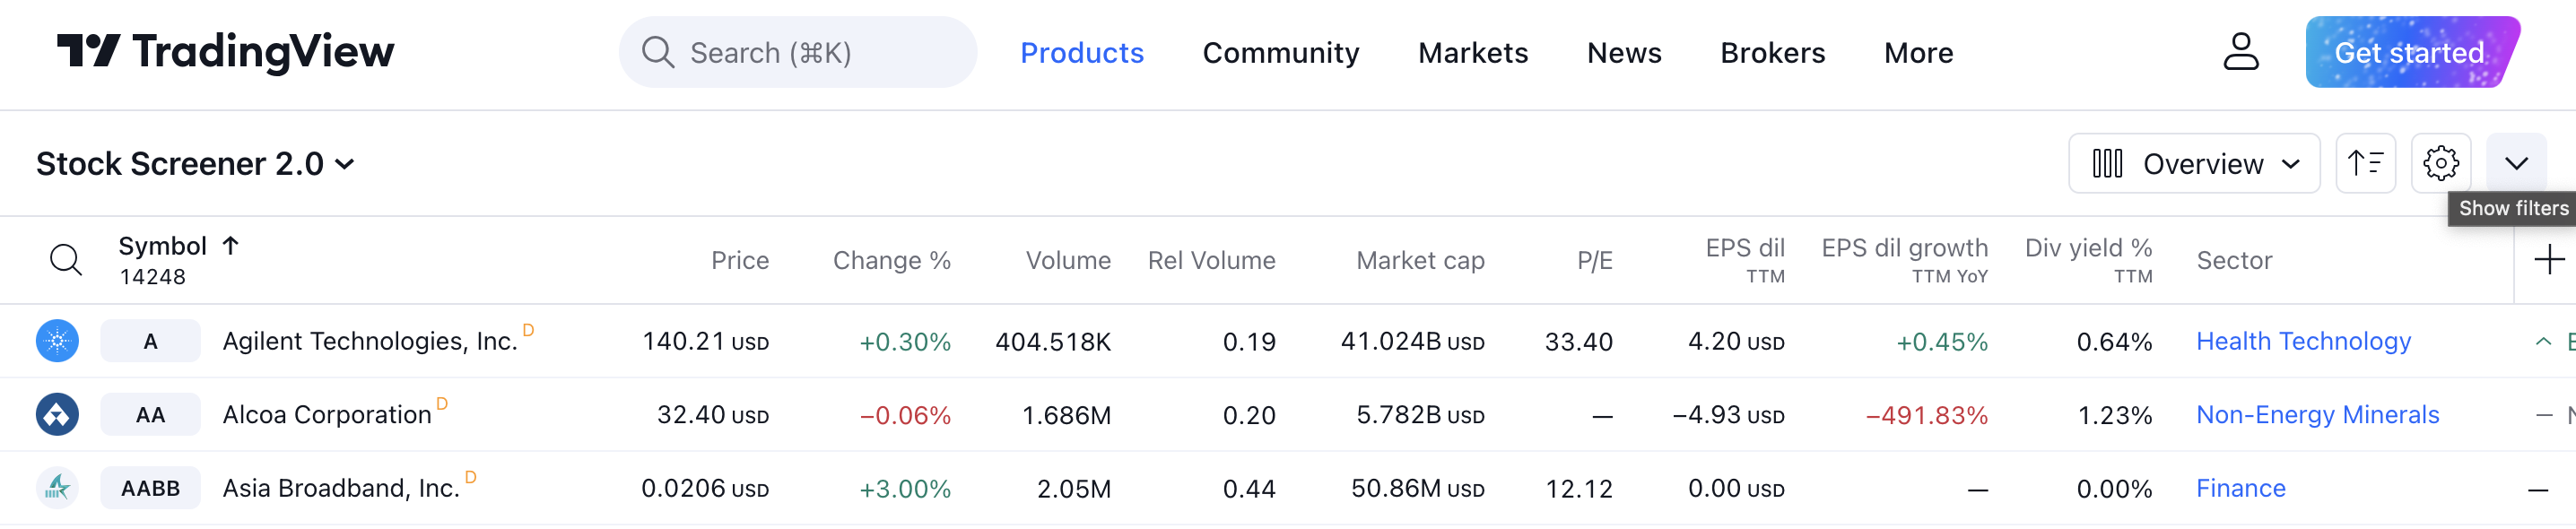
The top filter bar has two display views, expanded and collapsed. To bring the panel to a compact form, you need to click on the button in the upper right corner:
To add a new filter, click on the Add filter button located at the top of the filter panel:
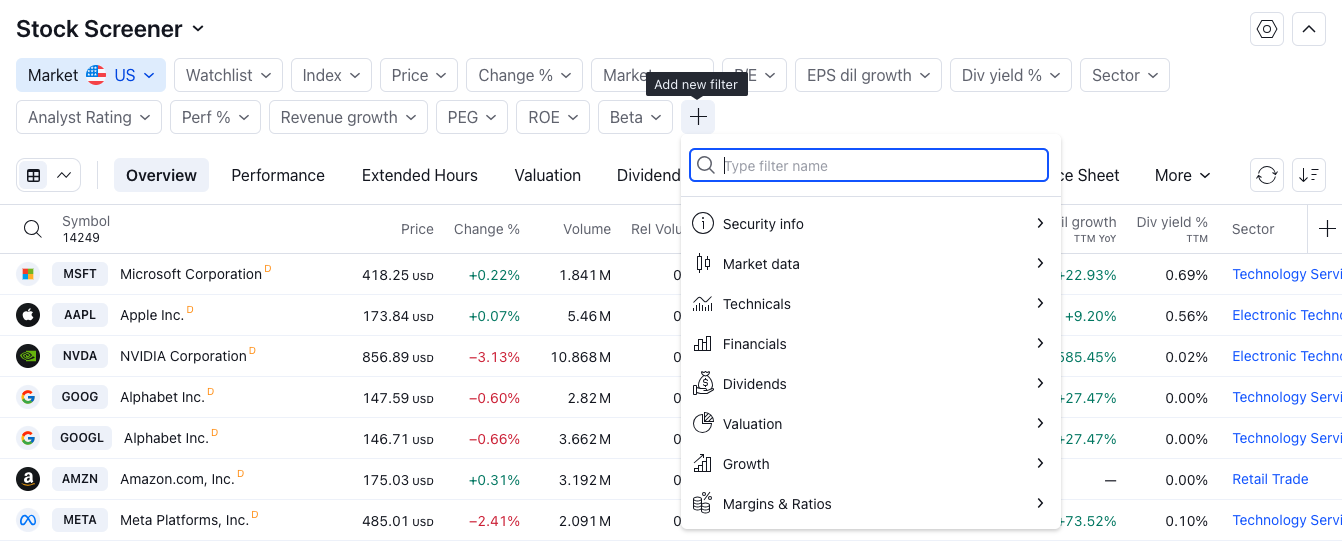
To activate a filter, you need to click on the pill button of the required filter. After clicking in the drop-down list, a list of popular filters for the selected indicator appears, which is applied to the table after clicking on it in the list:
When you click the Manual setup button, the filter editing dialog opens, in which you can apply the necessary conditions:

After selecting the required indicator and its parameters, the filter will automatically be added to the filter panel at the top of the table.
If you need to reset the active filter but leave it on the panel, you must select the Reset action:

The Remove action removes a filter from the Quick Access Toolbar: